VUE 清单 - 搭建多页面项目
一、项目搭建(节选核心功能)
- build/index.js:配置多页面入口文件信息。
js
// ====== build/index.js
const merge = require("merge");
const { getDirPath } = require("./tools");
const { seoTitleData } = require("./config/seo");

// pages 多入口配置
const EntryPagesInfo = (configs) => {
  let entryDir = getDirPath("src/views");
  let map = {};

  entryDir.forEach((dirPath) => {
    let filename = dirPath.substring(dirPath.lastIndexOf("/") + 1);
    let conf = {
      entry: dirPath + "/index.js", // page 的入口
      publicPath: "./", // 路径配置
      template: dirPath + "/index.html", // 模板来源
      title: seoTitleData[filename] || filename, // 标题
      filename: filename + ".html", // 输出文件
      chunks: ["manifest", "vendor", filename], // 页面模板需要加对应的js脚本,如果不加这行则每个页面都会引入所有的js脚本
      inject: true, // 是否注入资源
    };

    if (configs) {
      conf = merge(conf, configs);
    }

    if (process.env.NODE_ENV === "production") {
      conf = merge(conf, {
        minify: {
          removeComments: true, // 删除 html 中的注释代码
          collapseWhitespace: false, // 删除 html 中的空白符
          // removeAttributeQuotes: true    // 删除 html 元素中属性的引号
        },
        chunksSortMode: "manual", // 按 manual 的顺序引入
      });
    }
    map[filename] = conf;
  });

  return map;
};

module.exports = {
  EntryPagesInfo,
};- build/tools/index.js: 辅助工具类,主要作用是遍历「src/views」目录下的页面数据信息。
js
// 工具类封装
const path = require("path");
// node的glob模块允许你使用 *等符号, 来写一个glob规则, 像在shell里一样,获取匹配对应规则的文件.
const glob = require("glob");
const BUILD_KEY = require("./buildKey");

// 指向「根目录」
const BASE_DIR = "../../";
/**
 * getDirPath
 * params: dir表示要查找的具体路径, rule 表示一个glob规则
 */
const getDirPath = function (dir) {
  const PAGE_PATH = path.resolve(__dirname, BASE_DIR + dir);
  const rule = BUILD_KEY !== null ? `/${BUILD_KEY}` : "/*";
  // ===== 注意:如果路径是动态的,则必须替换分隔符
  let files = glob.sync(PAGE_PATH + rule).map((i) => i.replace(/\\/g, "/"));
  return files;
};

module.exports = {
  getDirPath,
};- build/tools/buildKey.js: 打包配置的辅助工具, 「yarn build:test b=about」中 key 就是「about」,它表示打包的明确目标是:测试环境 & about 页面。
js
// 自定义打包参数 b=[项目名]:比如 yarn build:dev b=about 就是“打包【about】页面的【dev】环境”
const buildKey = process.argv.filter((item) => item.indexOf("b=") !== -1);
// 打包【特定】页面的 KEY
let BUILD_KEY = null;
if (buildKey && buildKey.length > 0) {
  BUILD_KEY = buildKey[0].split("=")[1];
}
console.log(
  "🚀 ~ file: vue.config.js ~ line 14 ~ BUILD_KEY",
  BUILD_KEY,
  process.env.NODE_ENV,
  process.env.VUE_APP_BASE_URL
);

module.exports = BUILD_KEY;- build/config/seo.js: 用来配置 SEO 标题相关的信息。
js
/**
 * 用来定义多页面的SEO配置信息
 */

const seoTitleData = {
  index: "我是首页",
  about: "关于我们",
  user: "用户中心",
};

module.exports = {
  seoTitleData,
};- vue.config.js 配置(节选)
js
const path = require("path");
const { defineConfig } = require("@vue/cli-service");
const { EntryPagesInfo } = require("./build");
const BUILD_KEY = require("./build/tools/buildKey");
function resolve(dir) {
  return path.join(__dirname, dir);
}

module.exports = defineConfig({
  transpileDependencies: true,
  // 多页面配置入口
  pages: EntryPagesInfo(),
  assetsDir: "static",
  // 这行代码很重要: 用来指定打包最终的生成目录
  outputDir:
    BUILD_KEY !== null
      ? `dist_${process.env.NODE_ENV}_${BUILD_KEY}`
      : `dist_${process.env.NODE_ENV}`,
  // 设置别名
  chainWebpack: (config) => {
    config.resolve.alias
      .set("@", resolve("src"))
      .set("@v", resolve("src/views"))
      .set("@c", resolve("src/components"))
      .set("@u", resolve("src/utils"))
      .set("@s", resolve("src/service")); /* 别名配置 */
    config.optimization.runtimeChunk("single");
  },
  // ... 省略
});- package.json 配置
js
"scripts": {
    "serve": "cross-env NODE_ENV=local vue-cli-service serve --mode local",
    "build": " cross-env NODE_ENV=production vue-cli-service build --mode production",
    "build:dev": " cross-env NODE_ENV=development vue-cli-service build --mode development",
    "build:test": " cross-env NODE_ENV=test vue-cli-service build -- mode test",
    "build:prod": " yarn build",
    "build:all": "yarn build && yarn build:dev && yarn build:test",
    "lint": "vue-cli-service lint"
},二、使用文档手册
A、本项目的搭建背景:
- 基于 vue 技术栈开发的 H5 单页面,在需求不断累加的情况下,会出现疲于
【搭建框架 - 下载依赖 - copy重复逻辑 - 修改页面】等工作; - 所以:
【多页面打包配置】的出现,就是将【搭建框架 - 下载依赖 - copy重复逻辑】进行统一封装,能有效提升工作效率,并对 H5 有良好的归纳汇总效果。
B、项目介绍:
- 技术栈: vue3 + axios + element-plus + TS + sass
- 项目引入 flexible + rem ,能自适应主流设备浏览器(UI 稿以
750px为基准)。 - 项目自带三个 demo 页面:index / user / about
- 本地运行项目后可以通过以下方式查看效果:
- http://localhost:8080/index
- http://localhost:8080/user
- http://localhost:8080/about
C、新建 H5 页面的流程:
- 在【views】目录下新建目录
h5-abc, h5-abc 可以随便自定义 - 在
h5-abc目录下,新建三个文件:- h5-abc.js:名称需要和
h5-abc目录名一致; - index.html: 可以直接 copy 项目自带 demo 页面,也可自定义
- App.vue:可以直接 copy 项目自带 demo 页面,也可自定义
- h5-abc.js:名称需要和
- 重启项目:
yarn serve- 通过 http://localhost:8080/h5-abc 即可访问
- 部署项目:
- 页面资源(js / css / images)带有【哈希】标识,打包时仅会改动特定资源
- 打包完成后生成【dist】目录,如果需要部署【h5-abc】,只需要部署
【dist/h5-abc】和【dist/static】两个目录即可。
D、【多环境配置】: 本地环境 / 开发环境 / 测试环境 / 生产环境 ......
- 本地环境(可开 proxy 代理):
.env - 开发环境:
.env.development - 测试环境:
.env.test - 生产环境:
.env.production
E、【按需构建打包】功能:
- 打【开发环境包】:
yarn build:dev - 打【测试环境包】:
yarn build:test - 打【正式环境包】:
yarn build - 打【所有环境包】:
yarn build:all - 打【特定环境特定包】:
yarn build:[环境后缀] b=[项目名]- 【环境后缀】:dev / test / prod。【注意:特定包时暂不支持 all】
- 【项目名】: views 目录下的【单个页面目录名】,比如 index / about / user ......
- 比如我要打包 about 这个 H5 的测试版本,则运行命令:
yarn build:test b=about即可。
F、还需完善的部分(Todo):
- 【自动化部署】
- 【个性化配置】
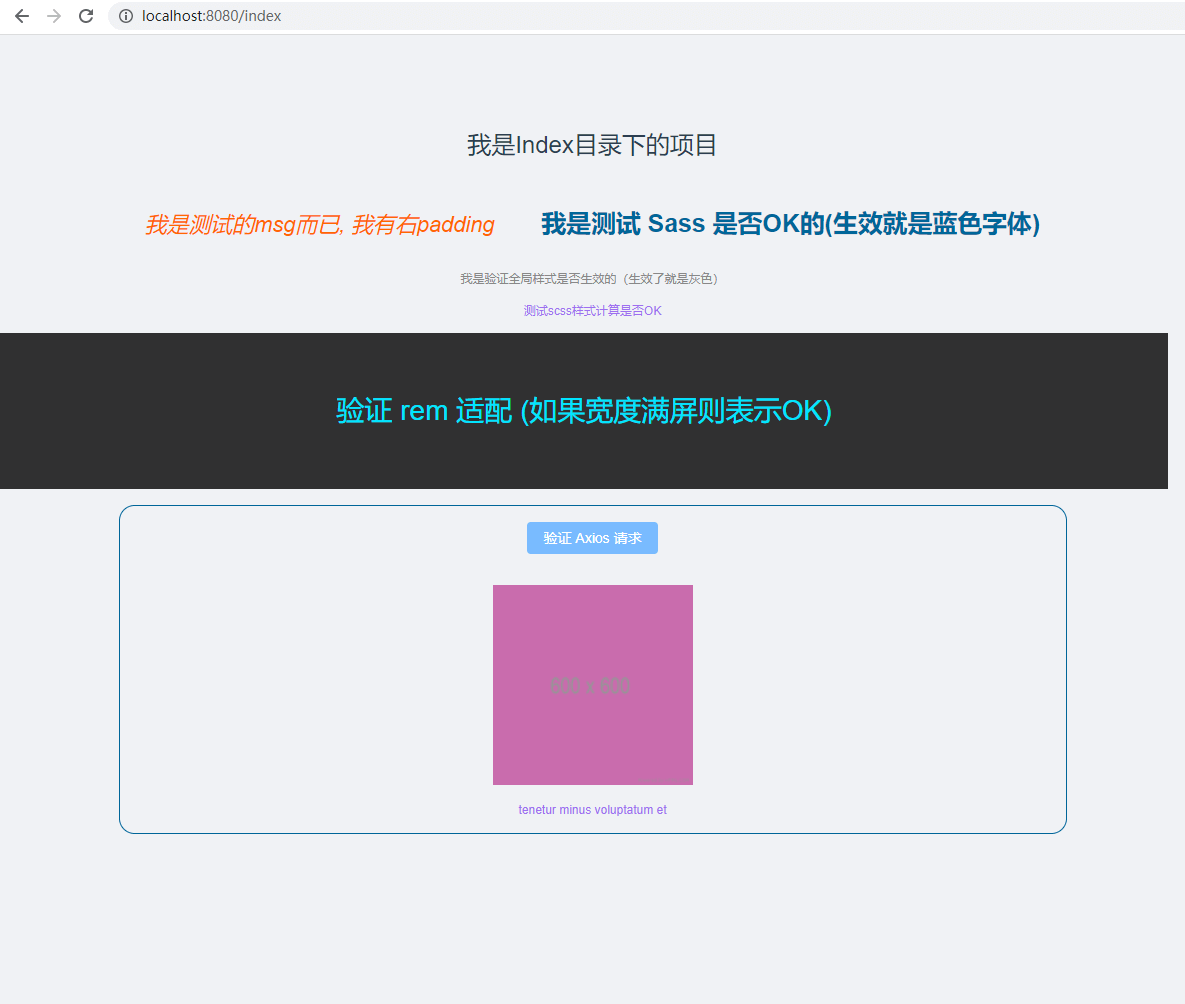
G、项目 DEMO 截图:
三、项目启动
js
// 1. 安装依赖
$ yarn

// 2. 运行项目
$ yarn serve注意
下载源码后,启动项目之前需要在本地新建「.env.local」文件,可以直接复制其他 .env 文件并修改后缀名即可。
四、项目源码
DEMO 源码参考:
「VUE 多页面配置」
参考:
Vue CLI 配置